
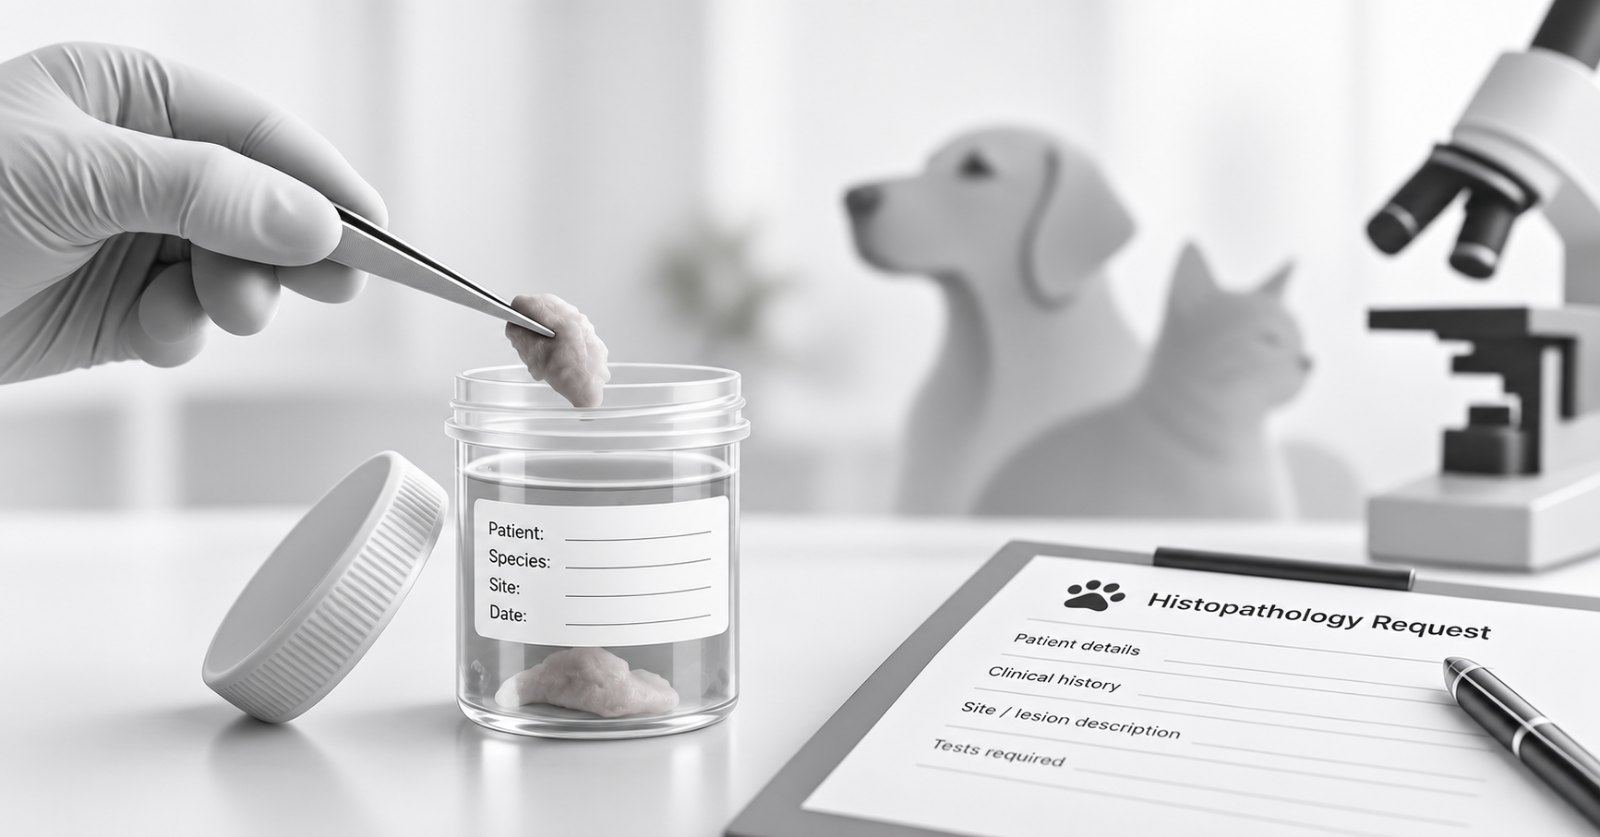
To send a biopsy sample without rejection, put the tissue into ten times its volume of 10% neutral buffered formalin within minutes of removal, keep it in a leak-proof labelled container, include the case history and a clear site description, and send it promptly at room temperature. Never freeze fixed tissue.
Why are biopsy samples rejected or difficult to report?
A pathologist can only report what the slide shows. Tissue that dried out, rotted before fixation, was crushed, or arrived without history can give a limited or non-diagnostic result. Most of these problems start in the clinic, in the first half hour after the tissue is removed, and are easy to prevent.
Common causes include:
- Fixative too little, too old, or the wrong liquid
- Sample left on a table or in a swab before fixation
- Tissue crushed with forceps or burnt by cautery at the edge
- Sample and request form not matching, or no label on the container
- Leaking container or broken glass jar in transit
How much formalin should you use?
Use 10% neutral buffered formalin and about ten parts of fixative to one part of tissue. A small jar with a large lump packed tightly does not fix well, because formalin cannot reach the centre.
Practical points:
- Choose a wide-mouthed container so the tissue can go in and come out without being cut.
- Make sure the tissue is fully covered. Do not let it float above the liquid.
- Keep a few jars of fresh fixative ready in the clinic. Replace them when the date or condition is doubtful.
- Handle formalin with gloves and in a ventilated area, and keep it away from staff who are sensitive to the fumes.
How should you handle and trim the tissue?
Handle the sample gently. Pick it up by the edge or with fine forceps, avoid squeezing, and do not scrape or rub the surface.
- Large lumps: cut a representative slice about one centimetre thick so the fixative can penetrate, or ask the laboratory before sectioning a whole organ.
- Small biopsies: place them straight into fixative. Fine tissue can be wrapped in a piece of biopsy paper or foam so it does not get lost.
- Margins: if the surgeon wants margins assessed, mark the area, for example with a suture or ink, and say what the mark means in the history.
- Several sites: give each its own container and its own label. Do not mix lesions in one jar.
- Fluid-filled lesions or very fatty tissue may need a note, because fixation is slower.
What must be on the label and request form?
Every container needs a label that stays readable when wet. Write directly on the jar, not only on the lid, using a permanent marker.
Include:
- Animal identification and the owner or clinic name
- Species, breed, age and sex
- Exact site of the sample, and whether it is one lesion or several
- Date of collection
- Clinical history: how long the lesion has been present, how it looks, how it has changed, and previous treatment in general terms
- The test or question you want answered
The more complete the history, the more useful the report. A clear site description often matters as much as the tissue itself.
How should you pack and ship it?
Close the lid tightly and check that it does not leak. Seal the jar in a plastic bag with absorbent material, then place it in a firm outer box so it cannot be crushed. Keep the request form in a separate bag so it stays dry.
- Send the sample as soon as you can after fixation. Tissue stays stable in fixative for days, but quicker is better.
- Keep it at room temperature and out of direct sun.
- Do not freeze fixed tissue. Freezing damages the structure.
- For samples that need other handling, such as fresh tissue for culture or molecular testing, ask the laboratory first. Fresh and fixed samples are not interchangeable.
What should you do before you collect?
Ask what the laboratory needs before the procedure, not after. Testing at eLAB Diagnostics starts from the test your veterinarian asks for, and the laboratory confirms which sample is needed and how it should reach the lab. Samples are registered, tested, and reviewed before the approved report is released to the authorised recipient. Identifying each specimen clearly and sending the case history with it keeps that process quick.
To check sample requirements or arrange submission, see the veterinarian page or call 1800 889 1900. You can also read about available tests.
Frequently asked questions
Can I send a biopsy sample without formalin?
Only if the laboratory has told you so for a specific test. Samples for histopathology are normally fixed. Fresh tissue for culture or molecular tests needs separate instructions, so ask first.
How long can tissue stay in formalin before it is sent?
Properly fixed tissue is stable for days, but sending it promptly avoids hardening and delays. Do not leave it for weeks in a small amount of fixative.
Do I need to send a separate jar for each lesion?
Yes. Use a separate, labelled container for each site so the pathologist knows exactly which lesion each report refers to.
Is it enough to write only the animal's name on the container?
No. Add the species, owner or clinic, site and date, and make sure the label matches the request form. Unlabelled or mismatched samples can delay reporting.